Hey there, crochet friend.
Have you ever looked at a single skein of yarn sitting in your stash and wondered just how big of a crochet basket you could actually make with it?
That's exactly what I decided to try in this fun one skein crochet challenge.
I grabbed just one ball of yarn, picked up my hook, and crocheted a simple basket from start to finish to see how far it would go.
If you're a beginner looking for an easy crochet project that feels rewarding without taking forever, this is such a great one to try. No fancy stitches, no stress — just a practical little storage basket you can actually use around the house.
What You'll Need for This Beginner Crochet Basket (One Skein Project)
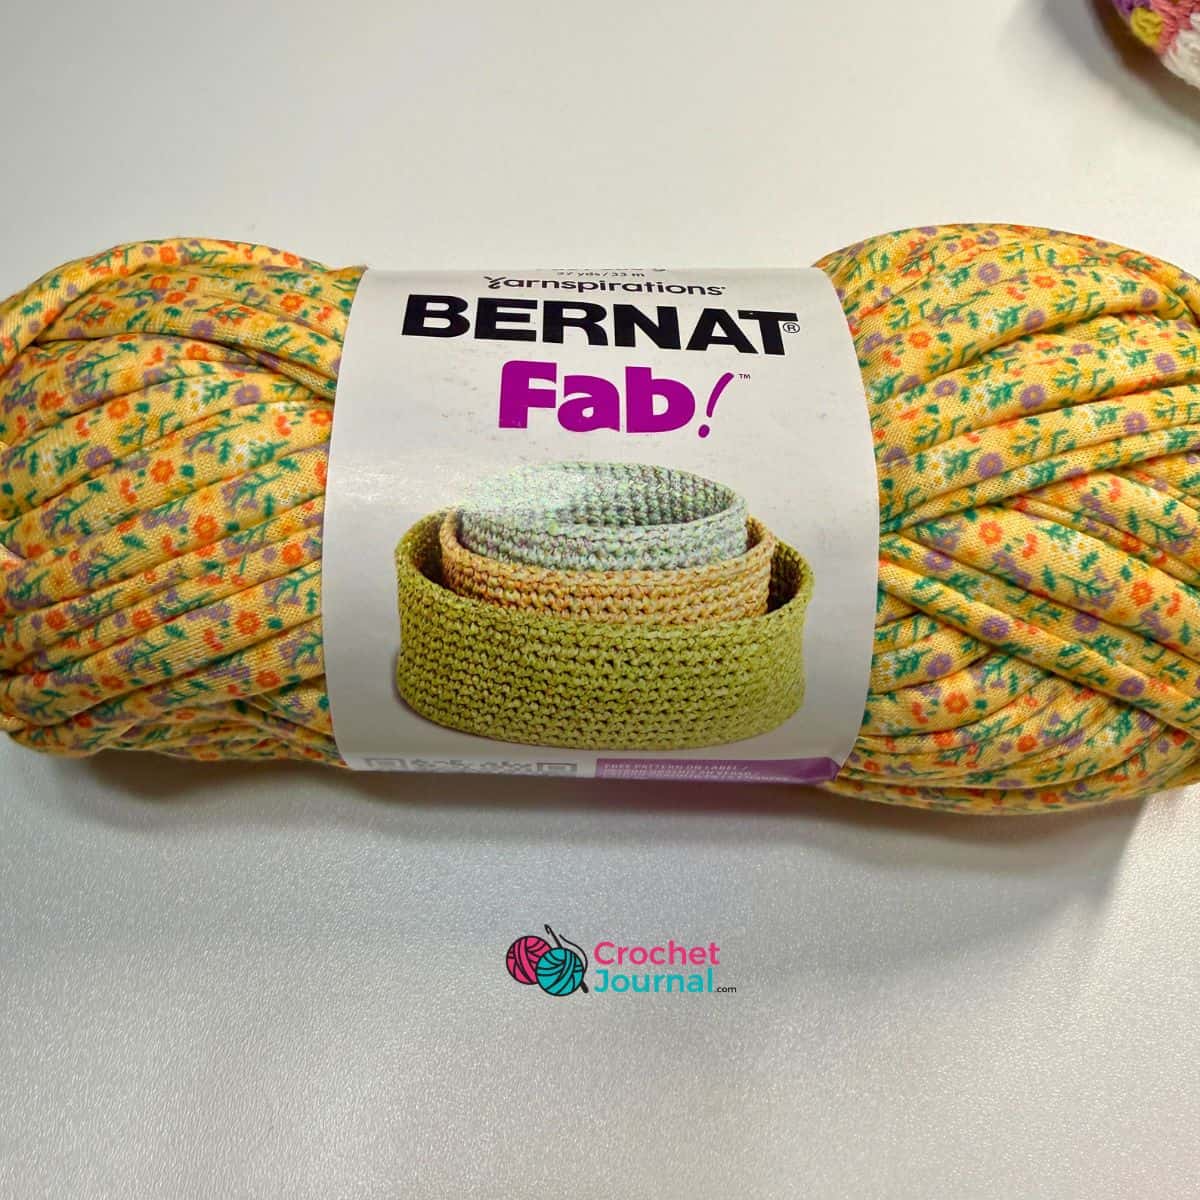
Yarn : Bernat Fab! Yarn #7/Jumbo yarn (Colorway I used is Glowing Garden)
Crochet Hook : US P/Q 15 mm
Tapestry Needle, Scissors
Notes about this pattern
- Using a bulky yarn made for a quick project.
- Gauge isn't important, but you want it to be a tight fabric.
How to Start Your Crochet Basket Base – Super Easy for Beginners
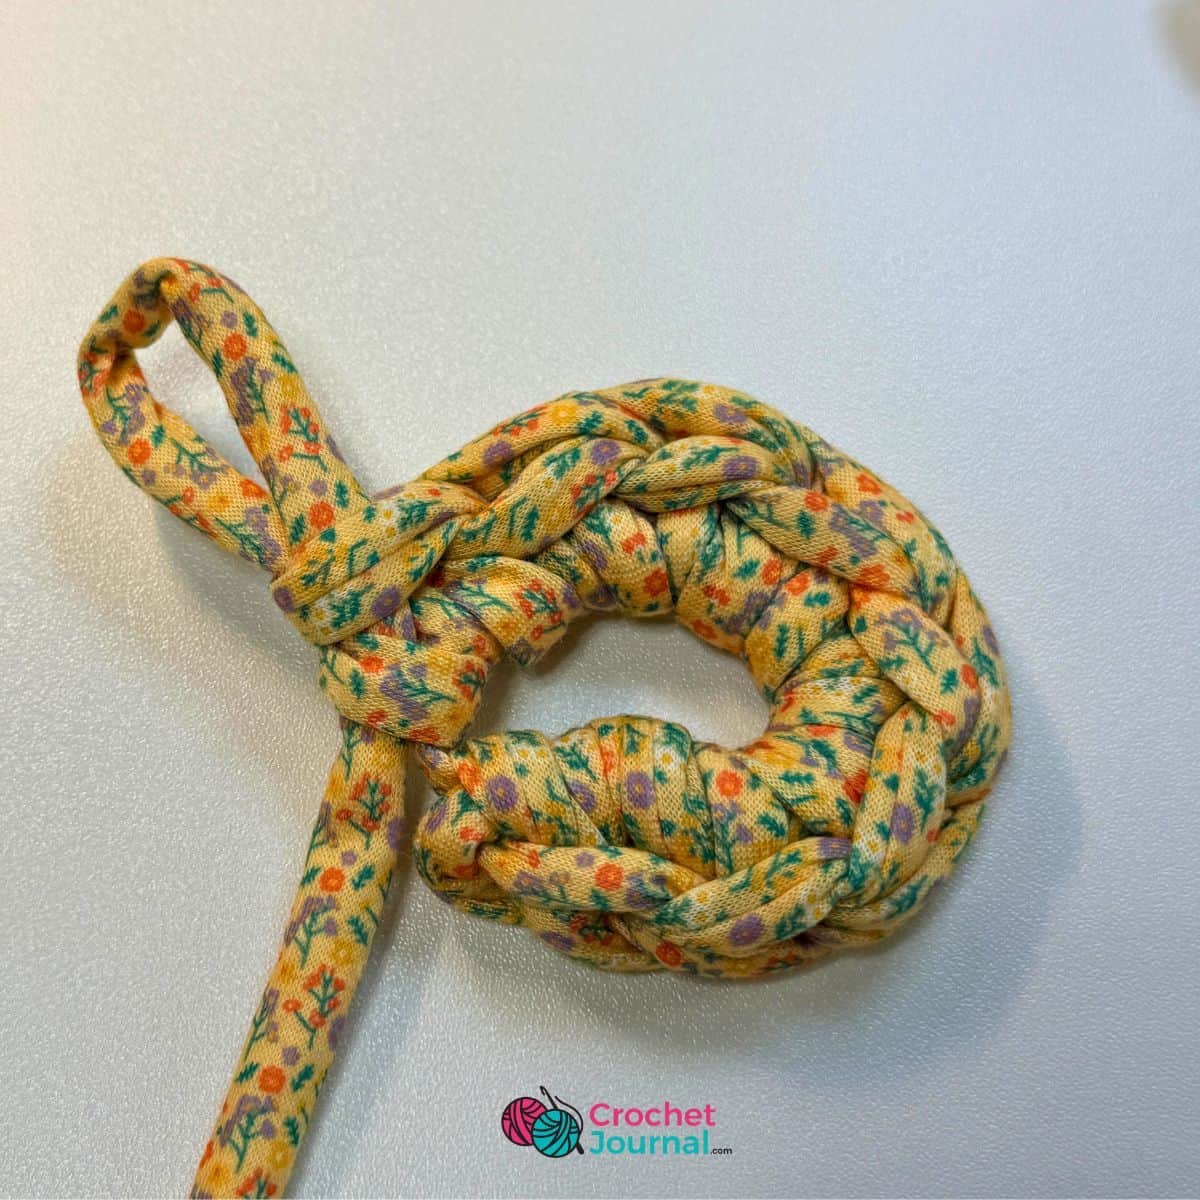
Make a magic ring, with a 2-3" tail end.
Round 1 : Chain 1, make 8 sc (single crochet) into the ring. Place a marker in the first sc. This will mark the beginning of the round. We'll work in continuous rounds and move the marker as we get to it. (8 stitches)
Round 2 : 2 sc (single crochets) in each of the 8 sc from Round 1 (16 stitches)
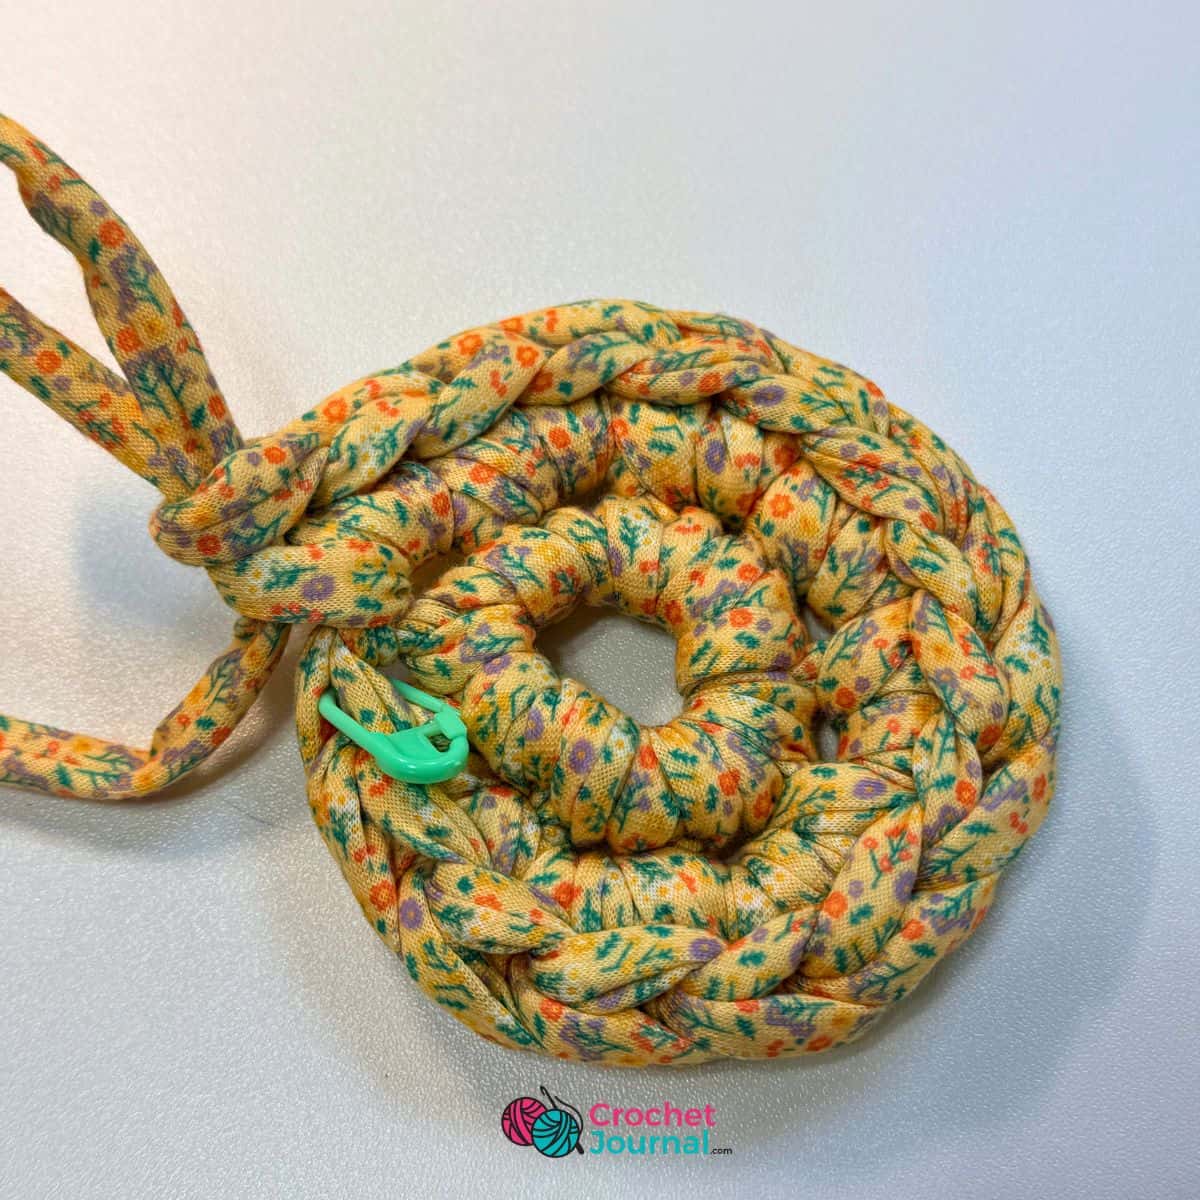
Round 3 : 2 sc (single crochets) in the first stitch, 1 sc in the next stitch. Repeat the pattern all the way around. (24 stitches)
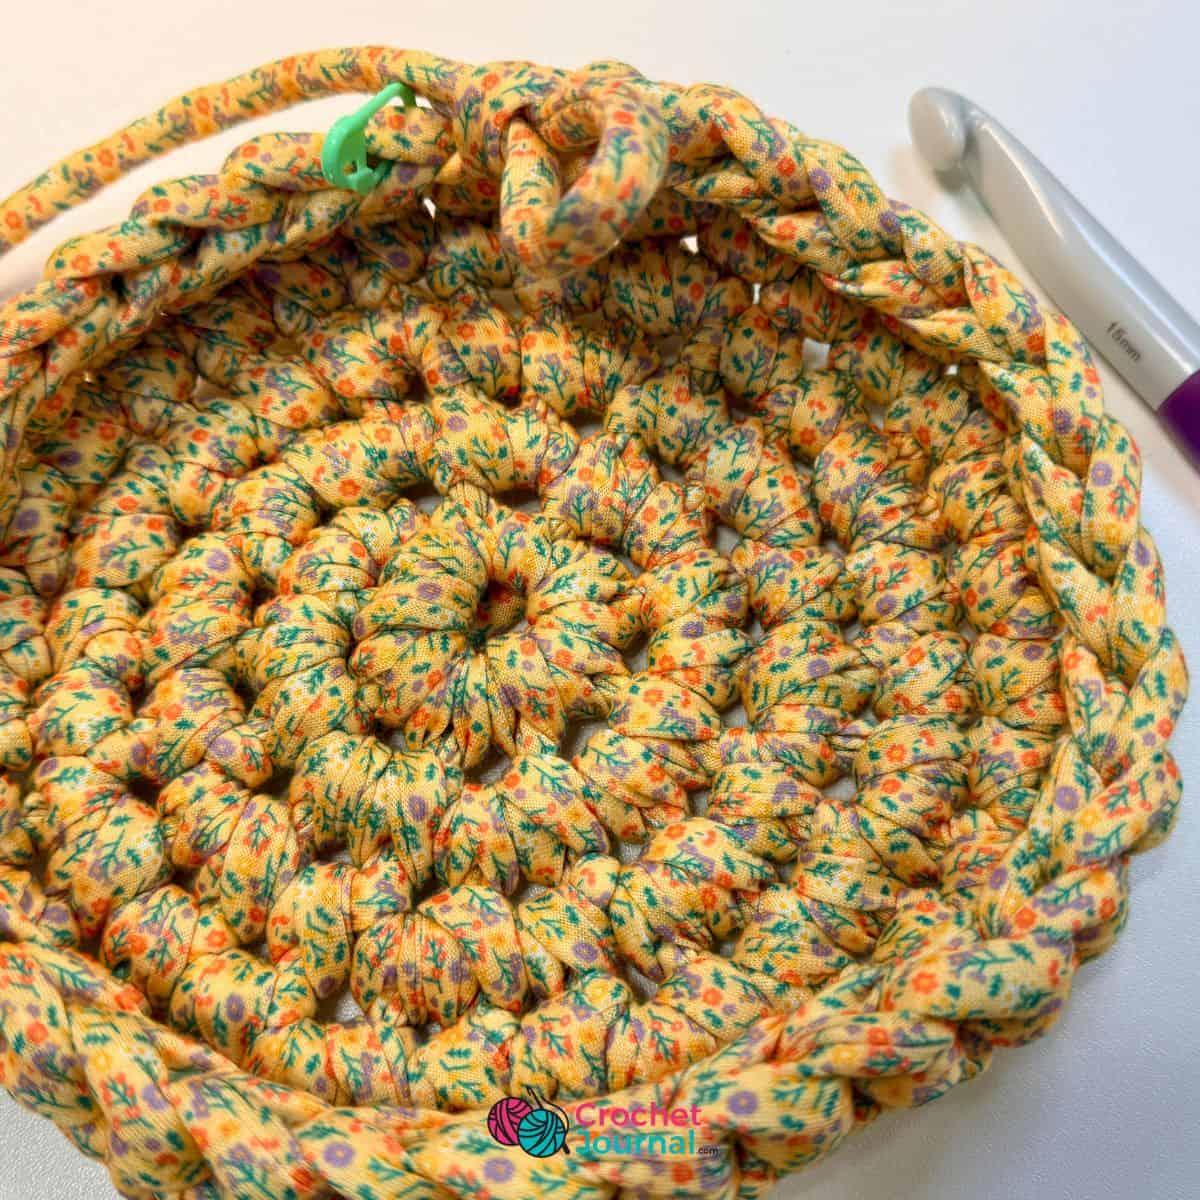
Round 4 : 2 sc (single crochets) in the first stitch, 1 sc in each of the next 2 stitches. So this pattern is repeated over 3-stitch intervals (2 sc, 1 sc, 1 sc). Repeat the pattern 8 times to get you all the way around. (32 stitches)
NOTE:
I stopped increasing my base after completing Round 4. However, you can continue these increase rounds to make your base even bigger. You will continue in the pattern like below.
Round 5 : 2 sc (single crochets) in the first stitch, 1 sc in each of the next 3 stitches. So this pattern is repeated over 4-stitch intervals (2 sc, 1 sc, 1 sc, 1 sc). Repeat the pattern 8 times to get you all the way around. (40 stitches)
Round 6 : 2 sc (single crochets) in the first stitch, 1 sc in each of the next 4 stitches. So this pattern is repeated over 5-stitch intervals (2 sc, 1 sc, 1 sc, 1 sc, 1 sc). Repeat the pattern 8 times to get you all the way around. (48 stitches)
Building Up the Sides of Your One Skein Crochet Basket
Sides : For the sides you're going to keep working in continuous rounds. Just make 1 sc (single crochet) in each stitch and go around and around.
Ending : When you're ready to end your basket, just slip stitch into the next stitch (instead of making a sc) and then weave the end in.
This part goes pretty fast once you get going. The basket starts to take shape and becomes sturdy. You can form the basket into shape.
My One Skein Challenge Results – How Big Did the Basket Get?
[Placeholder: Share the final measurements (height and diameter), how much yarn was left (or if you ran out), and a side-by-side photo with the empty skein for scale. Talk honestly about what surprised you.]
I initially made this basket for my video.
The basket in the video ended up measuring 10" x 2" tall.
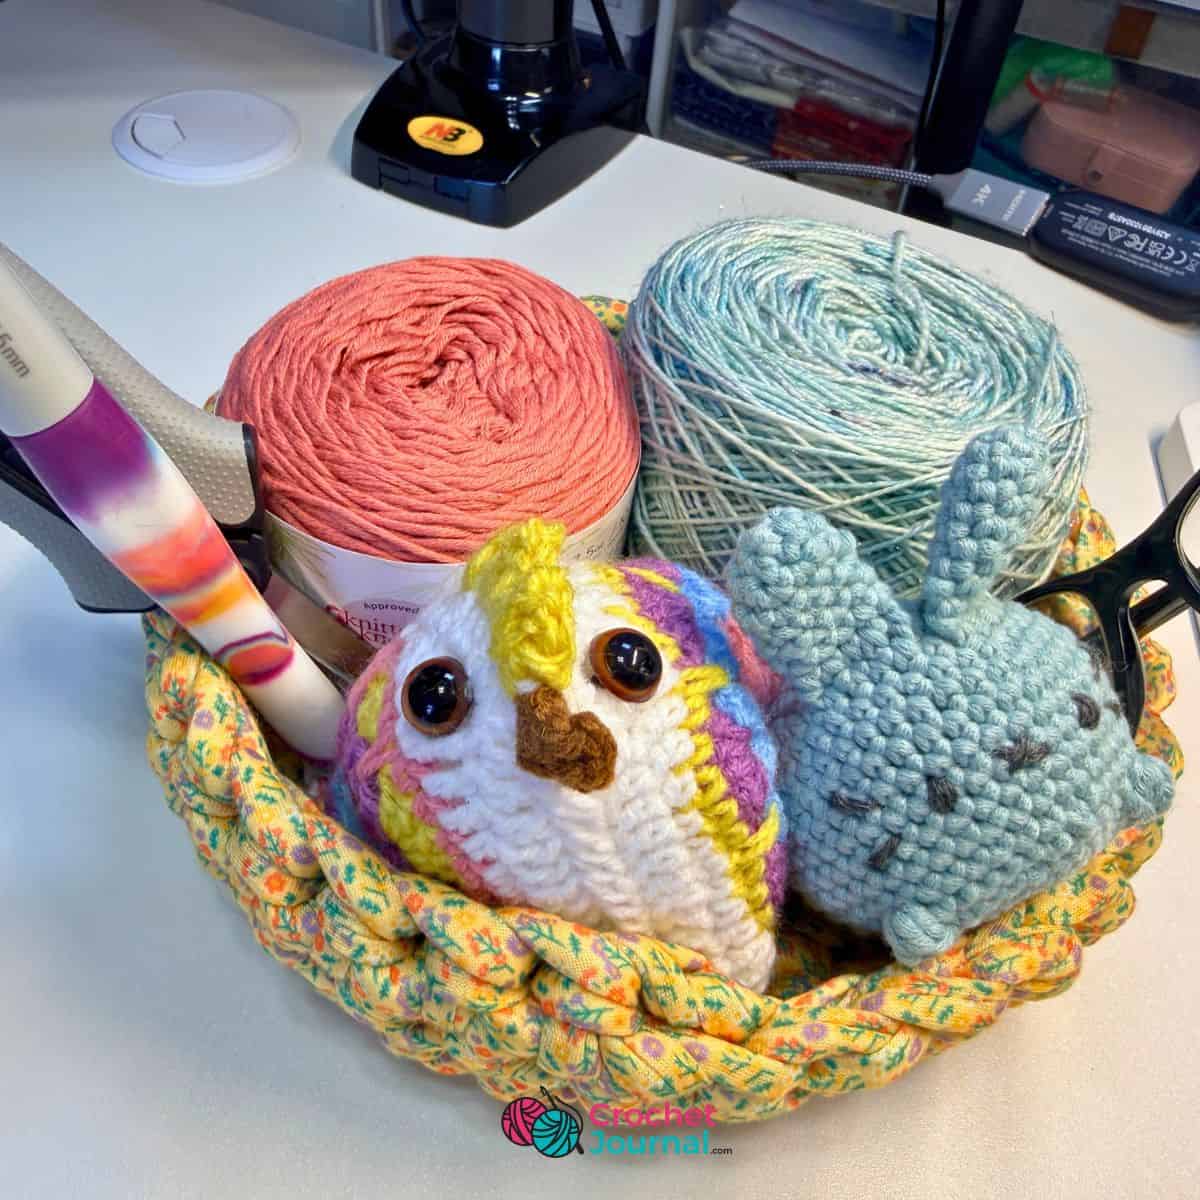
I didn't like how shallow and wide the basket was so I made it again for this photo tutorial. The remade basket is now 6.5" (16.5 cm) wide in diameter and 3" (7.5 cm) tall. At this size, the basket sits nicely on my desk without taking up too much space while keeping things organized.
Tips for Making Your Own Beginner-Friendly Crochet Basket
The Bernat Fab! yarn using US P/Q (15 mm) hook gave me a fabric at the suggested gauge of 5 single crochets and 5 rows for 4" (10 cm).
This yarn is smooth (not fuzzy/no halo) so it has a clean look but some obvious holes between the stitches. But it also doesn't have a ton of stretch. It has some stretch but not as much stretch as maybe a wool yarn or even an acrylic yarn. If you made this with a fuzzy yarn you'd want to make it dense enough to keep its shape.
Tip : Don't pull too tight or else you'll make it difficult to stitch the next round.
To make the basket wider, you'd continue creating base increase rows to increase the diameter by 8 stitches each row. To make it taller, keep going around in the single crochet rows.
You could make this same pattern with different yarn. Just keeping going on the base increase rows until it gets to the base size you want. You'll want to make sure you are creating a dense fabric so the basket can keep its shape.
This is a great stash busting crochet project. You could even hold multiple strands of a thinner weight yarn together.
Ways to Use Your Finished Crochet Storage Basket
I have so many ideas of where and how I could use this crochet basket. I'm picturing as a way to hold scraps of yarn or WIPs. I might make one to use as a cover for some of my planters. I ended up using mine as a catch-all basket on my desk. I keep a pair of scissors, a couple crochet amigurumis and some scissors in it. I also have some skeins of yarn that I've caked up waiting for my next project.
There you go! That's how big of a crochet basket I managed to make with only one skein of yarn.
It was such a simple and satisfying project, especially if you're just getting comfortable with crocheting or want a quick win that actually gets used every day.
If you give this one skein challenge a try, I'd love to hear how yours turns out and what size you ended up with. Drop a comment below or tag me if you share a photo.
Happy crocheting, and remember, even with just one ball of yarn you can make something useful and pretty.
Grab that skein that's been waiting in your stash and see what happens!